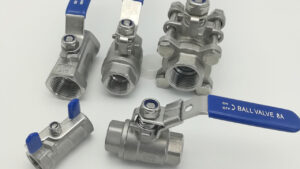
As the owner of Ball Valve and Fittings, a leading B2B Ball Valve Manufacturing factory in China, I’ve spent years mastering the art of valve manufacturing and installation. Our company is renowned for producing high-quality stainless steel products for various industries, including oil and gas, chemical, petrochemical, water and wastewater, and pharmaceutical industries. With our commitment to quality and value, we’ve become a trusted supplier for mid-sized companies across the United States, Europe, and Australia. Today, I’m going to share my expertise with you and guide you through the process of installing a ball valve.
INSTALLATION STEPS
Step 1: Gather Your Tools
Before you start, make sure you have all the necessary tools at hand. You’ll need a pipe cutter, a deburring tool, two wrenches, and of course, your ball valve. It’s also a good idea to have some thread sealant or plumber’s tape on hand to ensure a tight seal.
Step 2: Cut the Pipe
Use your pipe cutter to cut the pipe where you want to install the ball valve. Make sure the cut is straight and clean to ensure a proper fit.
Step 3: Deburr the Pipe
After cutting the pipe, use your deburring tool to remove any burrs or sharp edges. This step is crucial as it helps to ensure a smooth and secure fit when you install the valve.
Step 4: Prepare the Ball Valve
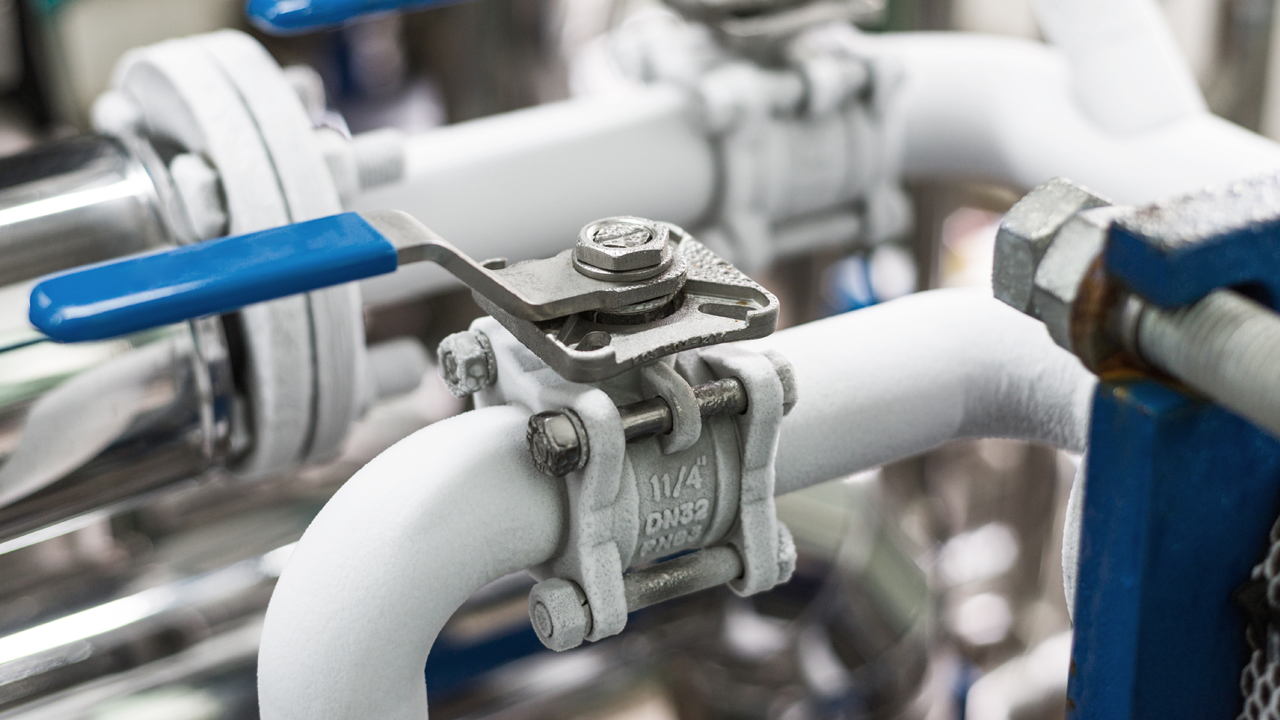
Before installing the ball valve, make sure it’s in the open position. This prevents any sealant or debris from getting inside the valve and causing damage.
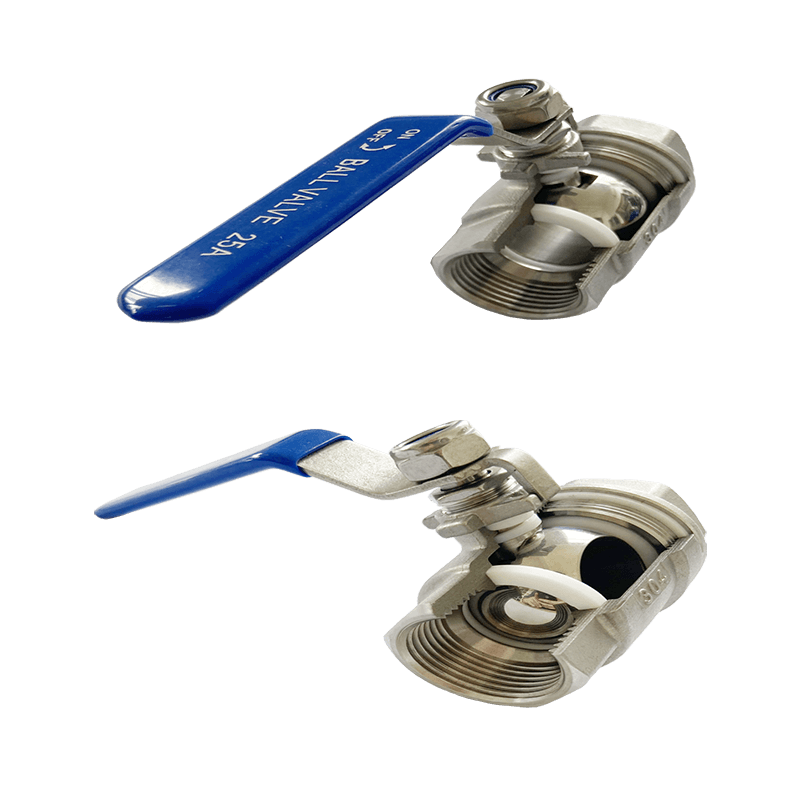
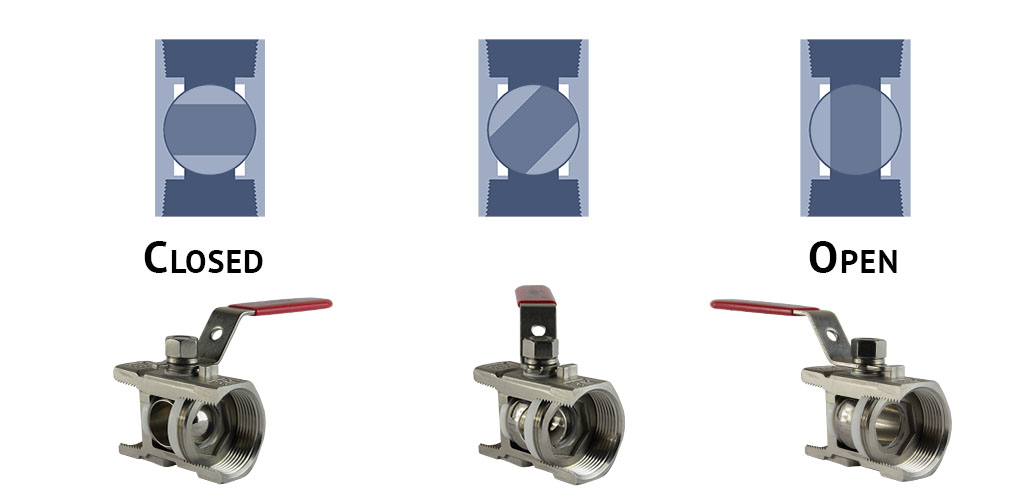
Identify the Valve’s Position: The position of a ball valve is easy to identify. If the handle is parallel to the pipe, the valve is open. If the handle is perpendicular to the pipe, the valve is closed. This is a standard design feature that applies to most ball valves.

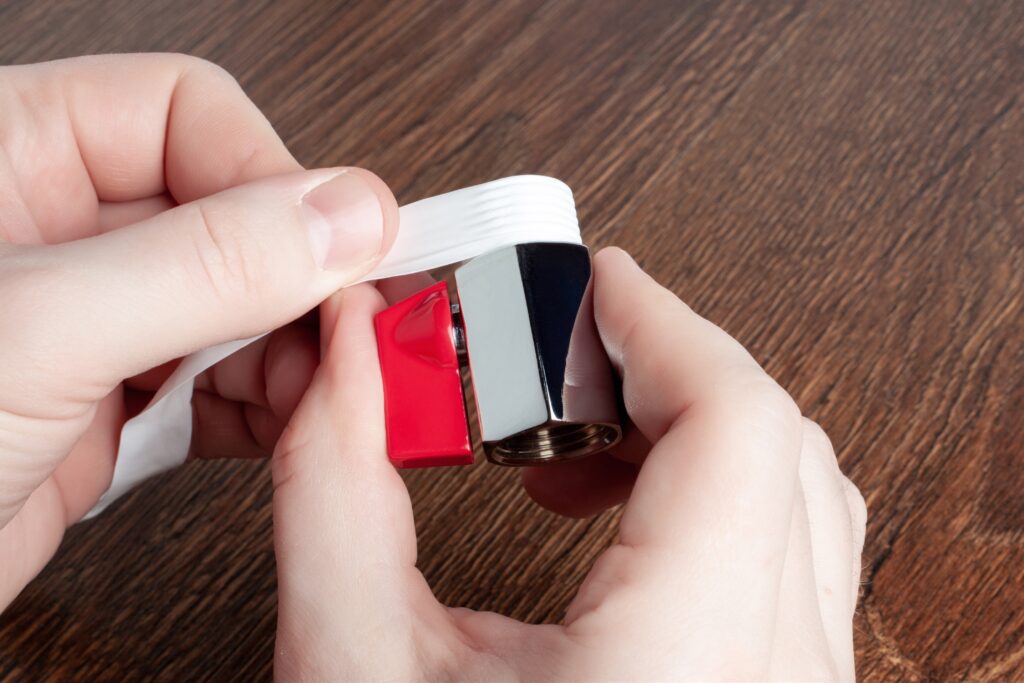
Step 5: Apply Sealant
Apply your thread sealant or plumber’s tape to the threads of the ball valve. This helps to create a watertight seal and prevents leaks.
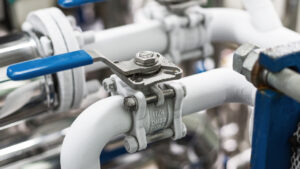
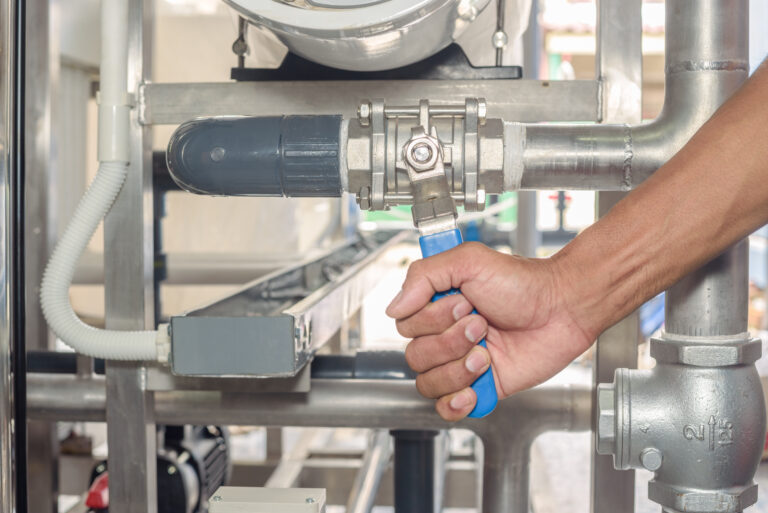
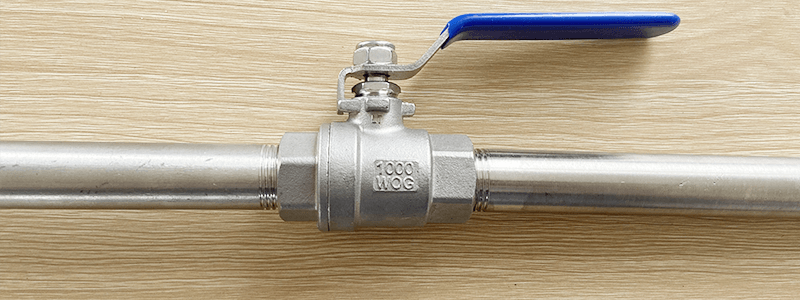
Step 6: Install the Ball Valve
Now, it’s time to install the ball valve. Align the valve with the pipe and use your wrenches to tighten it securely. Be careful not to overtighten as this could damage the valve or the pipe.

Step 7: Test the Installation
Finally, turn on the water or gas and check for any leaks. If you notice any, turn off the supply and tighten the valve a bit more. Once there are no leaks, your ball valve is successfully installed!
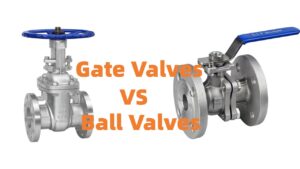
FACTORS TO CONSIDE WHEN CHOOSE BALL VALVE
1# MATERIAL
The material of the valve should be compatible with the fluid or gas it will control. Common materials include stainless steel, brass, and plastic, each suitable for different applications.
2# TYPE OF FLUID
The type of fluid that the valve will control is crucial. Different materials are suitable for different types of fluids, and the valve must be compatible with the fluid to prevent corrosion or damage.
3# PRESSURE RATING
The pressure rating of the valve should be suitable for the application. If the pressure is too high for the valve, it could fail.
4# SIZE
The size of the valve should match the size of the pipe it will be connected to.
5# TEMPERATURE
The temperature of the fluid can also affect the performance of the valve. Some materials can withstand high temperatures, while others cannot.
7# OPERATION
Consider whether you need a manual or automated valve. Manual valves are operated by hand, while automated valves can be controlled remotely or programmed to open and close at certain times.
6# SEAT & PACKING MATERIAL
Ball valve seats are made from different materials depending on the application. Soft seats, often made from PTFE (like Teflon), are great for sealing but have limited pressure thresholds, making them suitable for low-pressure applications. Filled PTFE is used for mid-range pressure applications, while high-pressure applications use PEEK. Neoprene or fluorocarbon elastomer is used for applications resistant to oil and moderate chemicals but not for highly corrosive acids. For high-temperature applications, graphite is used due to its heat resistance. The choice of seat material depends on the pressure rating of the ball valve and the materials it will be in contact with.
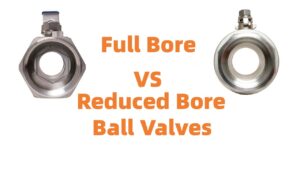
8# PORT
Ports, serving as the inlet and outlet points of valves, can be either full or standard. They have the ability to limit the flow of fluids or gases.
- Full Bore Ball Valve
A full bore ball valve is a valve with a hole, or port, that matches the pipe’s inside diameter. This design allows unrestricted fluid flow, minimizing pressure loss.
- Reduced Ball Valve
A reduced bore ball valve has a port smaller than the pipe’s diameter, causing some restriction to fluid flow and a potential pressure drop. They are typically smaller, lighter, and less costly than full bore valves, suitable for non-critical flow rate applications.
INSPECTION & MAINTENANCE
Regular inspection and maintenance of ball valves are crucial to ensure their optimal performance and longevity. Here are some steps to guide you through the process:
INSPECTION:
-
Visual Inspection: Regularly check the exterior of the ball valve for any signs of damage, such as cracks, corrosion, or leaks. Pay attention to the area around the handle and the stem.
-
Operational Inspection: Test the operation of the valve by turning the handle to open and close the valve. It should operate smoothly without any resistance. If the handle is hard to turn or if it’s loose, it may indicate a problem.
-
Leak Inspection: While the valve is in the closed position, check for leaks. This can be done by observing if there is any fluid passing through the valve or by using leak detection methods such as ultrasonic leak detectors or leak detection fluids.
Maintenance:
-
Cleaning: Regularly clean the exterior of the valve to prevent dirt and debris from entering the valve. Use a mild detergent and a soft cloth for cleaning. Avoid using abrasive materials that could damage the valve.
-
Lubrication: Some ball valves may require lubrication for smooth operation. Refer to the manufacturer’s instructions for the correct type of lubricant to use and the lubrication frequency.
-
Replacement of Seals and Gaskets: Over time, the seals and gaskets of a ball valve can wear out and may need to be replaced. If you notice a leak from the valve, it’s often due to a worn-out seal or gasket. Always use the correct replacement parts from the valve manufacturer.
-
Professional Servicing: If the valve is hard to operate, doesn’t fully close or open, or if there’s a persistent leak, it may need professional servicing. A professional can disassemble the valve, inspect the internal parts, and replace any worn-out components.
Remember, always follow the manufacturer’s instructions for inspection and maintenance. If the valve is part of a critical system or if it handles dangerous fluids, consider having regular inspections and maintenance performed by professionals.